
Are you tired of dealing with hard water problems like dry skin, dull dishes, or clogged pipes? Your Whirlpool water softener can fix these issues, but only if it’s set up just right.
Getting the settings wrong means wasting salt, energy, and still facing hard water troubles. You’ll learn exactly how to adjust your Whirlpool water softener settings for the best results. By the end, you’ll know how to save money, protect your home, and enjoy softer, cleaner water every day.
Keep reading you don’t want to miss these simple tips that make a big difference.
Credit: whirlpoolwatersolutions.com
Choosing The Right Whirlpool Setting
Choosing the right setting for your Whirlpool water softener is key to getting the best performance. The right setting helps your softener work efficiently and saves salt and water. It also protects your pipes and appliances from hard water damage.
Each home has different water needs. Knowing your water type and usage helps pick the perfect setting. The process is simple once you understand the options and factors that affect your choice.
Types Of Whirlpool Water Softeners
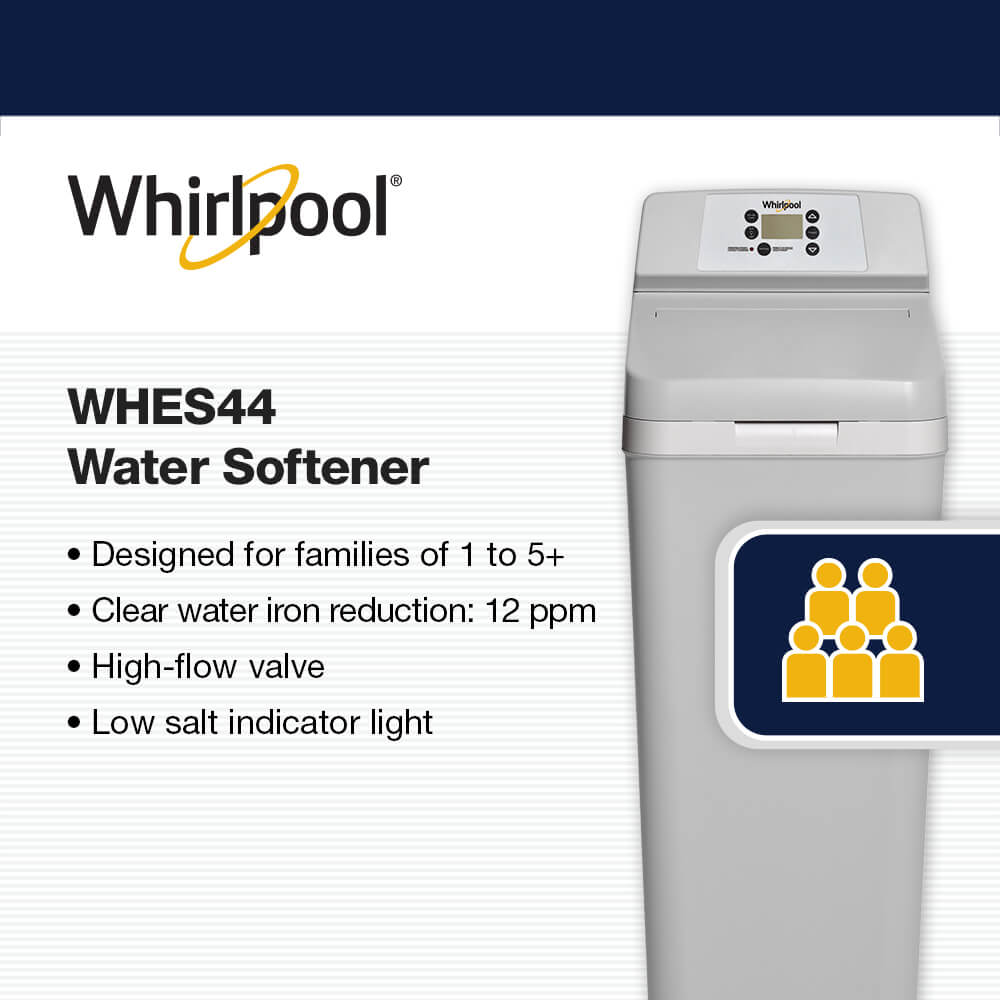
Whirlpool offers different water softener models. Some are compact, ideal for small homes. Others are larger and fit well in bigger homes.
Each model has unique settings for water hardness and regeneration cycles.
Some Whirlpool softeners use a timer to regenerate. Others use a sensor to track water use. Knowing your model type helps choose the best setting for your needs.
Factors Influencing Setting Selection
Water hardness level is the first factor to consider. Test your water to find its hardness. Higher hardness needs stronger softening settings.
Next, think about your household size. More people mean more water use. Your softener must regenerate often to keep up.
Salt type and availability also affect settings. Different salts work better with certain softener models. Check your softener manual for salt recommendations.
Lastly, consider your water usage patterns. Some homes use more water at specific times. Adjusting the regeneration time can save salt and water.
Setting Up The Whirlpool water softener adjustment
Setting up your Whirlpool water softener is the first step to enjoy soft water at home. A correct setup ensures the softener works well and lasts longer. Follow simple steps to installing a Whirlpool water softener and program your unit for best results.
Initial Whirlpool water softener Installation Steps
Start by choosing a good location near your main water line. The spot should be dry and easy to access. Turn off the water supply before you begin.
Connect the softener to the water line using the included fittings. Make sure all connections are tight to prevent leaks. Plug in the softener to a power source.
Check the Whirlpool water softener manual for any special instructions. Finally, run water through the system to clear any air or debris.
Programming The Control Panel
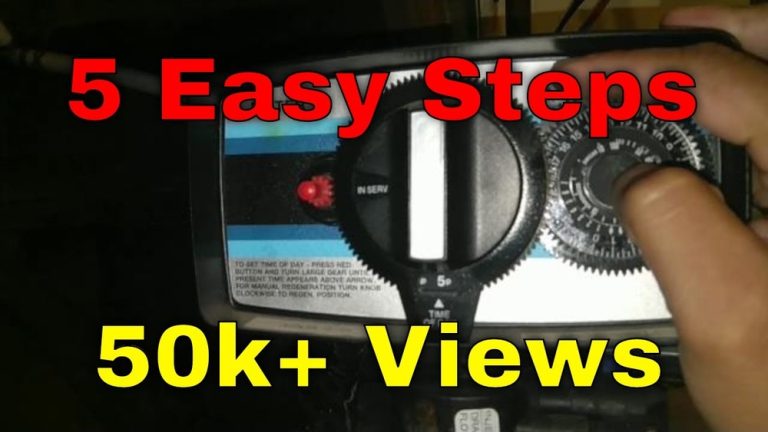
Turn on the softener’s control panel. Set the current time using the arrow buttons. Enter your water hardness level; this information is often on your water report.
Adjust the regeneration time to a low-use period, like late night. Set the salt level according to the unit’s instructions. Save your settings before exiting the menu.
The softener will now use these settings to work efficiently and save salt.
Adjusting Whirlpool Hardness Levels
Adjusting the hardness levels on your Whirlpool water softener is key to soft water that protects your pipes and appliances. Proper settings help remove minerals like calcium and magnesium. This makes your water feel smoother and extends the life of household items.
Setting the hardness level correctly saves salt and water. It also keeps your softener working well. The process involves testing your water and calibrating the softener settings accordingly.
Testing Water Hardness
Start by testing your water hardness. Use a test kit or strips made for this purpose. These tools measure the mineral content in your water. The results show hardness in grains per gallon (GPG) or parts per million (PPM).
Collect water from a faucet before the softener. Follow the instructions on the test kit carefully. Record your results. This number tells you how hard your water is. It guides the next step in adjusting the softener.
Calibrating Softener Settings
Find the hardness setting on your Whirlpool softener’s control panel. Enter the hardness number from your test results. This tells the softener how much salt to use.
Adjust the settings using the buttons or dial. Refer to the user manual for specific instructions. Set the level to match your water hardness exactly. This ensures your softener works efficiently.
Regularly check and adjust settings if your water hardness changes. This keeps your water soft and saves resources. Proper calibration protects your home and improves water quality.
Whirlpool water softener Regeneration Cycle Options
The regeneration cycle is a key part of a Whirlpool water softener. It cleans the resin beads inside the unit. These beads trap minerals that make water hard. Regeneration flushes out these minerals. This keeps your water soft and your system working well.
Whirlpool water softeners offer different regeneration cycle options. These options help you control when and how the system cleans itself. Choosing the right setting saves salt, water, and energy. It also ensures soft water is always available.
Manual Vs. Automatic Regeneration
Manual regeneration means you start the cleaning process yourself. You press a button or turn a dial. This option gives you control over timing. But you must remember to do it regularly. Missing a cycle can reduce water softness.
Automatic regeneration happens on its own. The system uses a timer or sensor. It starts the cycle when needed. This is easier for most people. The system keeps water soft without your help. It also adjusts to your water use.
Setting Regeneration Frequency
Regeneration frequency is how often the system cleans itself. You can set it by days or water use. A common choice is every 3 to 7 days. This depends on your water hardness and family size.
Too often wastes salt and water. Too little can make water hard again. Find a balance that fits your needs. Some Whirlpool models learn your usage. They adjust the frequency automatically for best results.
Salt Usage And Maintenance
Salt plays a key role in the Whirlpool water softener. It helps clean the resin beads that remove hardness from water. Proper salt use keeps the system working well and extends its life.
Checking salt levels and choosing the right salt type are important parts of maintenance. These steps ensure your water softener runs smoothly and saves you from costly Whirlpool water softener repairs.
Choosing The Right Salt Type
Use salt made for water softeners only. It comes in forms like pellets, crystals, or blocks. Pellets are the most common and work well in Whirlpool systems.
Avoid salt with too many impurities. It can cause buildup inside the tank. This buildup reduces the softener’s efficiency and may cause damage.
Pick salt with high purity. It dissolves easily and helps the system maintain Whirlpool water softener cleaner instructions better. Always check the label before buying salt.
Monitoring Salt Levels
Check the salt level in the brine tank every month. Keep the salt at least half full. Low salt can stop the softener from working properly.
Remove any salt bridges or clumps in the tank. These block salt from dissolving into water. Use a broom handle to break them gently.
Refill the tank with fresh salt as needed. Do not overfill. Too much salt can cause problems during regeneration.

Credit: www.youtube.com
Whirlpool water softener Troubleshooting Common Issues
Troubleshooting common issues with your Whirlpool water softener helps keep it running smoothly. Small problems can cause big changes in water quality. Understanding these issues saves time and avoids frustration.
Some Whirlpool softener problems may seem complex but have simple fixes. Checking settings and parts often solves the issue quickly. Follow these tips to fix common problems.
Softener Not Regenerating
The softener needs to regenerate to clean the resin beads. If it does not regenerate, water stays hard. Check the timer or control panel first. Make sure the clock and settings match your schedule.
Inspect the salt level in the brine tank. Low salt stops the regeneration cycle. Clean the brine tank if salt bridges or clogs form. These block salt from dissolving into water.
Look at the water pressure. Low pressure can stop regeneration. Also, check for error codes on the display. Reset the system if needed by unplugging it for a minute.
Water Still Hard After Setup
Hard water after setup means the Whirlpool water softener not working properly. Check the salt type and amount used in the tank. Use high-quality salt for best results.
Verify the hardness level entered in the settings. Incorrect input causes poor softening. Adjust the hardness level based on your water test report.
Ensure the bypass valve is fully closed. If open, water bypasses the softener and stays hard. Clean the resin beads if they are old or clogged.
Optimizing For Energy Efficiency
Optimizing your Whirlpool water softener settings helps save energy and lowers utility bills. Adjusting these settings ensures the softener uses only the power it needs. This reduces waste and keeps your system running smoothly.
Simple tweaks can make a big difference in energy use. Understanding how to adjust and change settings is key to efficiency.
Adjusting Settings For Lower Consumption
Start by setting the regeneration frequency to match your water hardness and usage. Too frequent regeneration wastes energy and salt. Set it to regenerate only when needed to save power.
Use the lowest salt setting that still softens water effectively. Excess salt increases energy use and costs. Check your manual for the recommended level.
Seasonal Setting Changes
Water hardness can change with seasons. Adjust your softener settings seasonally for best performance. In winter, water hardness often decreases, so reduce regeneration frequency.
In summer, higher hardness levels may need more frequent regeneration. Changing settings based on the season helps maintain energy efficiency all year.
Credit: whirlpoolwatersolutions.zendesk.com
Frequently Asked Questions
How Do I Set The Time On My Whirlpool Water Softener?
To set the time, press the “Set” button until the clock flashes. Use the “+” or “-” buttons to adjust hours and minutes.
Confirm by pressing “Set” again. Accurate time ensures proper regeneration cycles for optimal softening.
What Is The Ideal Hardness Setting For Whirlpool Softeners?
The ideal hardness setting matches your water’s grain hardness level.
Check your local water report or test kit. Adjust the softener’s hardness setting accordingly to ensure efficient salt use and prevent scale buildup.
How Often Should I Regenerate My Whirlpool Water Softener?
Regenerate when the salt level drops or based on your water usage.
Most models suggest regeneration every 3 to 7 days.
Regular regeneration maintains soft water quality and protects your plumbing from mineral buildup.
Can I Adjust Salt Dosage On Whirlpool Water Softeners?
Yes, you can adjust salt dosage based on water hardness and usage. Lower settings save salt but may reduce softening efficiency.
Higher settings increase salt use and improve scale prevention. Find a balance for best results.
Conclusion
Setting your Whirlpool water softener correctly saves money and time. It helps protect your pipes and appliances from damage. Regularly check and adjust settings for best water quality. Keep your softener clean to avoid common issues. Proper use means softer water for your home every day.
Small changes make a big difference in water softness. Follow the steps to keep your system running smoothly. Enjoy the benefits of soft water without hassle. Simple care keeps your Whirlpool water softener working well.